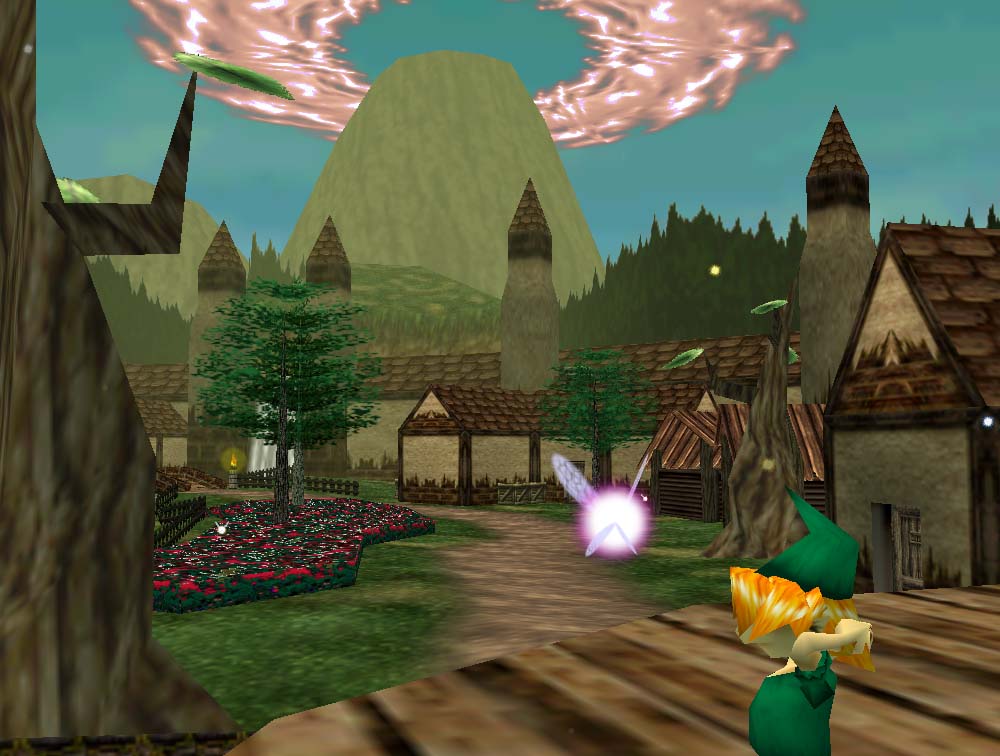
Tutorial contributed by Zel This guide explains the following steps of adding a scene to the game:
Resources required: Please use a clean rom, for the sake of reducing potential user errors. Some steps will vary if you've already added scenes or routes to the game, for example. PreparationBefore beginning to import your scene, navigate to scenes/[scene being replaced], and remove any zscene or zmap files, as these will be replaced with your custom scene.Configuring routesIn order to connect various scenes together in the game, the exit values in SharpOcarina's collision tab must be modified to match those within routes.txt. More information on routes.txt can be found here.Exporting a scene binary Congratulations, if you are done configuring your custom map in SharpOcarina you're almost ready to import it in game!If you created any cutscenes in SharpOcarina, be sure to enable "Print Offsets." This can be found under the Options menu above the viewport. Most of the information here is unessecary, however be sure to take not of the cutscene address. If you are not using any cutscenes, ignore this. If you are using any texture animations, be sure to take note of the Scene Function in the General tab. Like before if not, then ignore this. At this point we're finally ready to add our scene to the game. In order to do so, navigate to the File option above the viewport, and select "Save Binary." Navigate to your scene folder and save it there. Configuring texture animations Remember how I said to take note of the Scene Function earlier? Open the conf.txt file located in your scene folder in a text editor of your choice, it should look something like this. unk-a: 2 unk-b: 5 shader: 22 save: 3 restrict: 0Most of these values should be left as is, however if texture animations are not being used then shader needs to be set to 0. Subsequently, if texture animations are being used, shader should match the value of the Scene Function in SharpOcarina. SharpOcarina also displays the Scene Function value as hexadecimal, however in conf.txt it will need to be in decimal. Before you panic, these values can easily be converted with simple math, or by using a converter like this one. Please refer to the zzromtool manual for a more in-depth explanation of how conf.txt works. Configuring entrance cutscenes In order for a cutscene to play when the player arrives in your custom map, you first must know which route ID is being used for the exit in the scene leading to your map, which can be found in routes.txt, as was mentioned earlier. More information on routes.txt can be found here.Now simply navigate to entrance-cutscenes.txt, and choose an entry which you would like to replace. Entries can also be added or removed. For example, say I want to play an entrance cutscene at route 0004, and my cutscene offset is 020001AB, and I want the cutscene to only occur as Child Link. I would set an entry up like this. Route Age Flag Offset Notes4 1 0xA0 020001AB Water TempleFlags can be ignored if you are using an existing entry, however if you are adding an entry you must add a new event_chk_inf flag. More information can be found here. Age allows a cutscene to only play if Link is child or adult. The value 00 should be used for adult only cutscenes, 01 for child only cutscenes, and 02 for no age restriction. Notes are simply well, notes. You can put whatever you want here. Finishing up At this point our scene is ready to test in game. To make sure it worked compile a new rom and go to whichever scene you replaced....It works! |

